Low(ish) poly nacelle tutorial
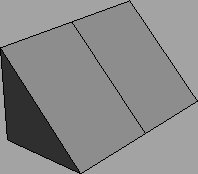
First, create a cube which is 2x1x1 (lxwxh) with two length segments, centered at 0,0,0 in the viewport and convert it to an editable poly

Next weld the top vertices on the right-hand side to the ones on the left-hand side so that you have a three sided object
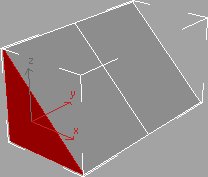
Go to face selection and select the front triangle
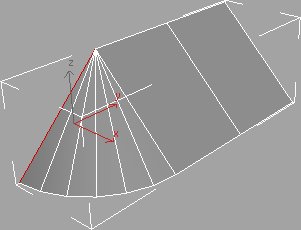
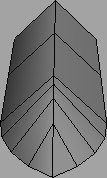
Select "Hinge from Edge" and set the "Angle" to 90, the "Segments" to 6 and select the left-hand edge of the triangle. You should end up with the following
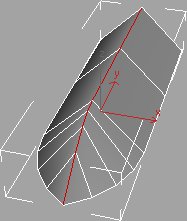
Come out of the face sub-object modifier and add a Symmetry modifier to the whole object
Convert the object to an editable polygon or add an Edit Poly modifier to it. Go to the edge sub-object modifier. The seam from the Symmetry modifier should be selected. If not, manually select it
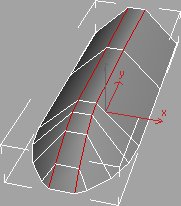
Use the Chamfer modifier on the edge to expand the middle by a reasonable amount to get the following
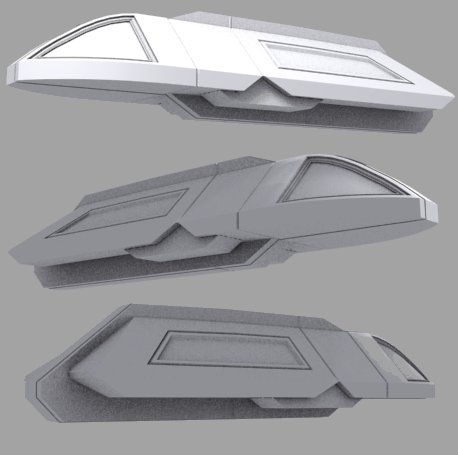
Now you can play with the basic shape to make it whatever you want it to be. Using face and edge selection with inset and extrude you can easily add more detail
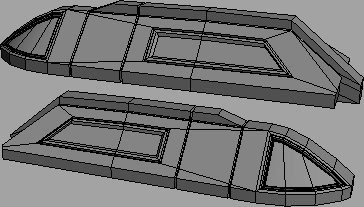
Whilst this is fairly low polygon, you can use exactly the same methods to create a higher detailed model. As an example prior to using the hinge operation, instead of using the wedge shape you could use a smoother shape such as this
